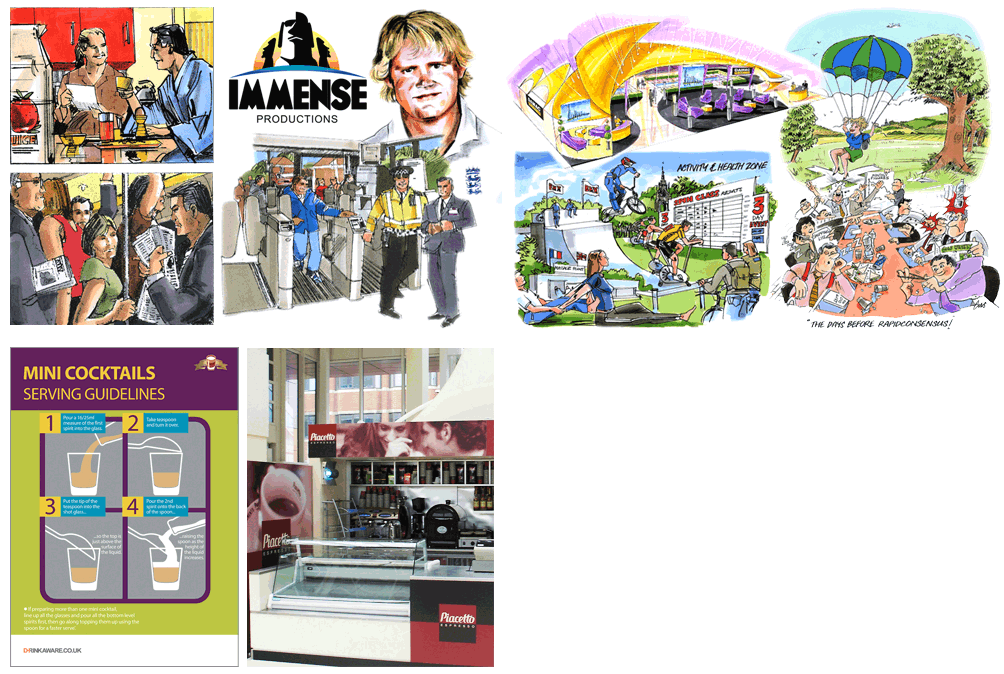
Visualisations
Visualisations are quick drawings, not always in colour of a concept that has been/being pitched to a client. This is so the idea gets over to the client in more than words.
the slideshow above is from www.artofvisualising.co.uk
Animatic Storyboards
Animatics follows the storyboard stage of a motion graphic presentation. They are simplified ‘mock-ups’ to give a better idea of how the scene will look and feel with motion and timing. The simplest form is when it is just still scenes put together and displays rough dialogue and/or sound.
This allows the animators and directors to work out any screenplay, camera positioning, shot list and timing issues that may exist with the current storyboard. The storyboard and soundtrack are amended if necessary, and a new animatic may be created and reviewed with the director until the storyboard is perfected. Editing the film at the animatic stage can avoid animation of scenes that would be edited out of the film. Animation is usually an expensive process, so there should be a minimum of “deleted scenes” if the film is to be completed within budget.
(http://en.wikipedia.org/wiki/Storyboard#Animatics)
Examples of Animatics:
Jimmy John’s Sandwiches
Café Ecco
National Accident Helpline
Film Editing Techniques
There are techniques to edit film, these are just a few:
1. Cut on action

2. Cut on cross frame action: the reveal shot


3. Cutting to empty frame and letting subject come in
4. Cutting to secondary action followed by tilting/panning to main subject

5.Cutting on an emphatic part of dialogue

6. Avoid jump cuts If you do not cut on action and the two shots are along the same visual axis, the result is a jump cut. re jarring and disconcerting, and pretty much unacceptable, unless that is the effect you want for narrative reasons.
There will not be a jump cut if you:
a) cut on action, as in examples 1 and 4 above, or
b) cut to an empty frame and let the subject come in, as in example 3 above, or
c) cut from one shot to the tighter shot while something is moving across the frame, as in examples 2a and 2b above, or
d) cut from one angle to another angle that is rotationally at least 20 degrees away from the first one, or
e) cut to another shot and then back to the first shot, or a shot of something else.
7) Stagger audio and sound
They should be separated by at least a second. If the cuts are aligned, the change in background noise when you cut from one sound clip to the other will be simultaneous with the visual cut; this breaks the illusion of continuity and will make your project look amateurish.
There is more in this site:
(http://www.lavideofilmmaker.com/filmmaking/film-editing-tips.html)


